🎓 Tutorials and Step-by-Step Guides
WSKAZÓWKA
[!TIP] Practical Start: In this chapter, we will go step-by-step through your first real musical projects in Omni DAW. You will learn how to create drum beats, basslines with step conditions, tonally flawless melodies, and how to apply chaotic modulations.
🥁 Tutorial 1: Creating a Drum Beat in Drum Machine Mode
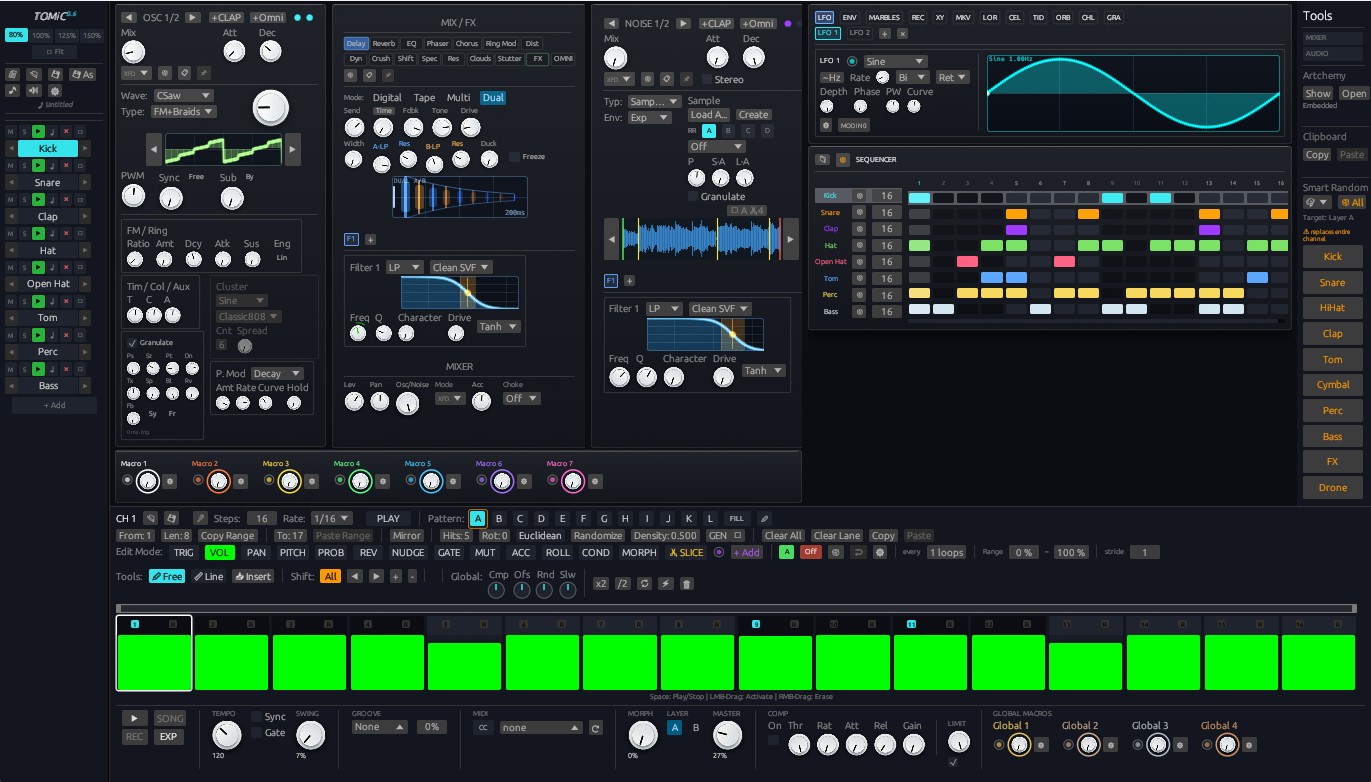
In Omni DAW, every clip in the Session View can be transformed into a multi-pad MPC drum machine with individual per-pad expression lanes:
Step 1 Switching the Clip to Drum Machine Mode
- Open Omni DAW and go to the Session View (the view button on the toolbar or the F4 key if you are in the Arrangement View).
- Double-click a slot on Track 1 (with the TOMiC drum synth or a sampler assigned) to open the bottom Clip Editor panel.
- On the top bar of the clip editor, select the DRUM MACHINE mode.
Step 2 Setting up the Drum Pads
A pad matrix will appear in the editor window. The default TOMiC archetype set is:
- Pad 1: Kick
- Pad 2: Snare
- Pad 3: HiHat
- Pad 4: Tom
Step 3 Programming the Rhythmic Pattern
- Kick: Click the grid points on steps 1, 5, 9, 13 (a classic 4/4 rhythm).
- Snare: Enable hits on the snare pad on steps 5 and 13.
- Hi-Hat: Enable hits on the even steps 3, 7, 11, 15.
Step 4 Adding a Human Groove (Swing & Probability)
- On the hi-hat pad, switch to the Probability lane and reduce the probability of the hit on step 15 to 70%.
- On the main toolbar at the very top of the screen, enable the SWING slider and set the value to 54% (MPC Swing).
- Press Space to listen to a smooth, swinging drum beat!
🎸 Tutorial 2: Creating a Bassline in Step Sequencer Mode
- Create a new MIDI instrument track (Ctrl + Shift + M) and add BassSynth (acid TB-303).
- Create a new clip on this track and switch the clip editor mode to STEP SEQUENCER.
- Set the step resolution to 1/16 and the loop length to 16 steps.
- In the Pitch lane, lay out the note pitches of your bassline (e.g., C2, C2, D#2, G2).
- In the Step Condition lane, add the
1STcondition on the first step andFILLon the final steps to create a dynamically evolving bass loop!
🎹 Tutorial 3: Recording Melodies and Piano Roll with Scale Fold Mode
- Create a new PolySynth polyphonic synthesizer track.
- Open the clip editor in PIANO ROLL mode (Alt + P).
- In the top key menu, select the key of C and the Minor scale.
- Enable the Scale Fold button. The keyboard will compress down to only the 7 notes belonging to the C minor scale.
- Use the pencil tool to draw a melodic line on the time grid without any risk of tonal clashes!
🔮 Tutorial 4: DSP Effects and the Lorenz Chaos Modulator
- Open the mixer panel (F1) for your synthesizer track.
- In the effects rack, add Filter and Delay.
- Add a Lorenz Chaos modulator in the modulation rack.
- Drag the modulator card's handle to the Cutoff knob in the Filter effect (or right-click the Cutoff knob and select "Add Modulation" → Lorenz Chaos).
- Set the modulation depth to 40% by dragging the modulation ring around the knob. The synth's timbre will begin to evolve smoothly and organically as the track plays!
💾 Tutorial 5: Exporting the Finished Track (Export Audio)
- Go to the Arrangement View (F4) and ensure the loop bar covers the entire track.
- From the main program menu, select File -> Export Audio.
- Choose the target format (24-bit WAV or FLAC), enable the TPDF dithering option, and click Export.