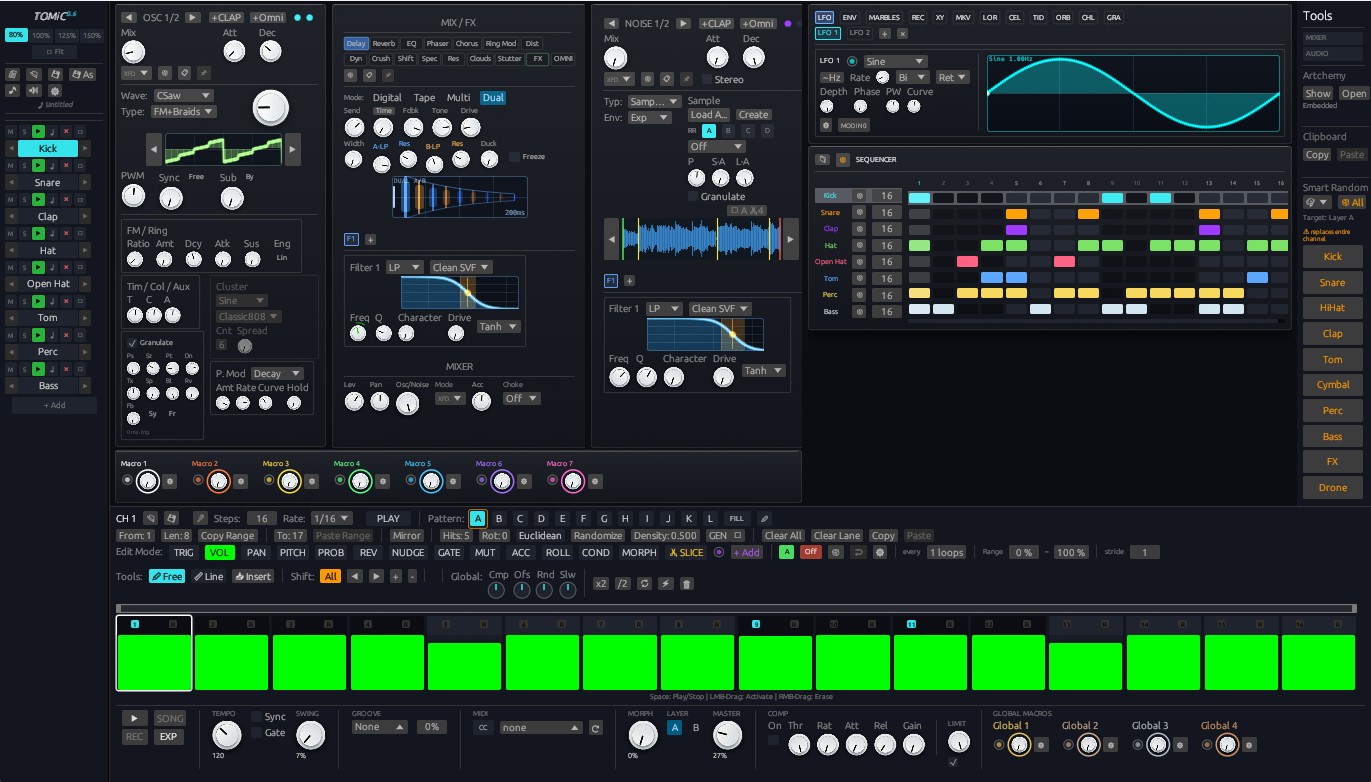
🎛️ Top Toolbar & Transport
The Top Toolbar in Omni DAW is the control center for playback, tempo, and view switches. It is located at the very top of the interface.
1. Transport Controls
- Play / Stop (
Space): The transport button starts and stops playback from the current time cursor position. - Record: Arms MIDI note or audio signal recording on the active track. It is enabled via the button on the transport bar (by default, there is no dedicated keyboard shortcut — see
/docs/keyboard-shortcuts) or via MIDI Learn if you want to assign recording to a hardware controller. - Loop: Toggles looping for the designated section on the Arrangement View timeline. The toggle is located on the arrangement toolbar (using the mouse) — there is no default keyboard shortcut.
2. Tempo (BPM)
- BPM Fader / Entry: Adjusts the project tempo ranging from 20.0 to 300.0 BPM with decimal precision.
- The same range (20–300 BPM) applies independently to the "Orig BPM" field used for stretching (warping) a single audio clip.
[!NOTE] Omni DAW does not currently have a built-in metronome (measure countdown click) or a Tap Tempo function — you set the tempo purely numerically in the BPM field.
3. Clip Launch Quantization (Clip Launch Mode)
In the Session View, a clip does not always start immediately upon clicking. The launch mode (ClipLaunchMode) has two values, toggled via a button on the Session View bar:
- Next Loop (default): The clicked clip is queued (blinks) and starts only when the currently playing clip on that track finishes its loop. This is not a selectable rhythmic grid (e.g., "every bar" or "every 1/4") — the reference point is always the loop length of the currently playing clip.
- Immediate: The clip switches instantly upon clicking, without waiting.
4. Swing Engine and MPC Groove Patterns
Omni DAW features a Swing/Groove engine that allows you to give mechanically generated sequences a more human feel:
- Groove Amount (0% – 100%): Phase shift applied according to the selected groove template.
- Built-in MPC Groove Patterns (available from the dropdown list next to the Swing slider):
- MPC 54%
- MPC 60%
- MPC 67%
- MPC 71%
- The default state is "Straight" (0%, no swing).
5. View Switches
On the right side of the toolbar are buttons for quick application view changes:
- Session View / Arrangement View (
F4): Toggles between the non-linear clip grid and the classic timeline. (Note:Tabis not a global shortcut for this switch — it only works locally in some panels, e.g., for navigating tabs in the Step Sequencer). - Mixer Panel: Slides out the mixer panel showing Peak Meters and effect chains.
- Device Panel (
F1): Opens a detailed view of the VST3/CLAP/LV2/VST2 plugin or built-in effect/synthesizer on the selected track.
Official guide to the Omni DAW non-linear workstation: Session View, Arrangement View, Piano Roll, sequencers, DSP effects, modulators, and AI generators.
A comprehensive guide to keyboard shortcuts in Omni DAW: navigating panels, transport controls, editor modes, Live mapping, and the QWERTY MIDI virtual keyboard.